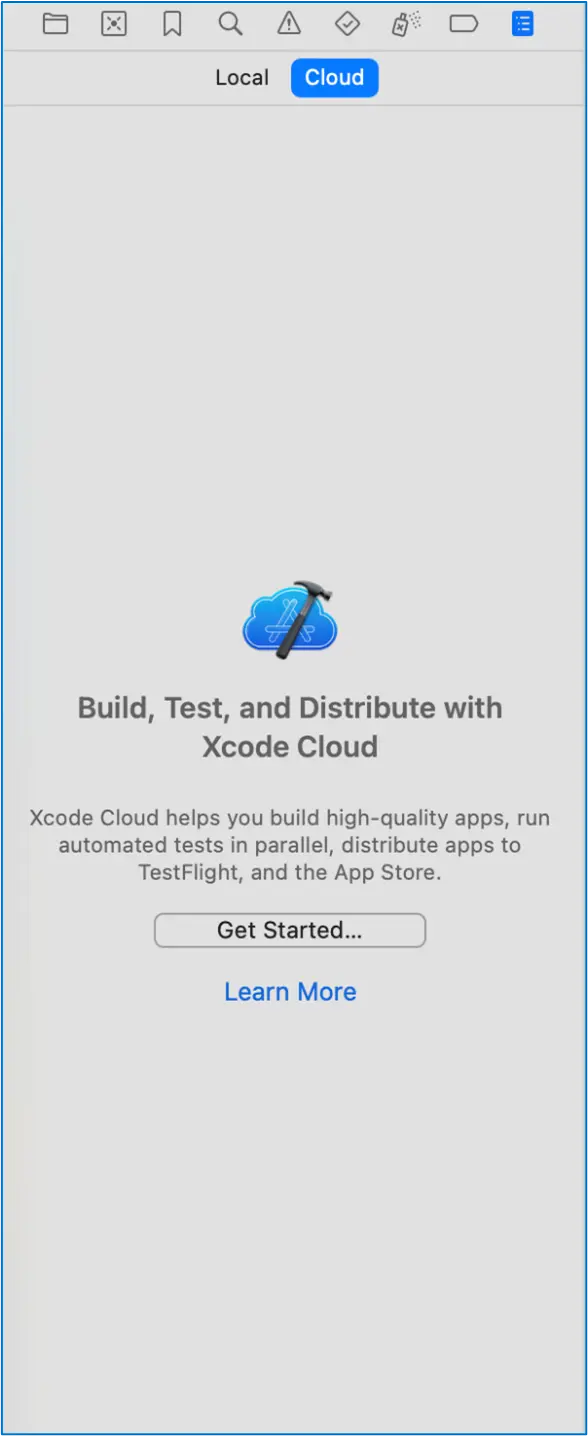
As mobile development grows, developers need tools that improve efficiency and collaboration. In 2021, Apple introduced Xcode Cloud, a cloud-based service that changes how iOS developers build, test, and distribute apps. Xcode Cloud automates key tasks like building and testing, allowing teams to focus more on creating features and less on managing infrastructure.
In this blog, we’ll explore what Xcode Cloud is, its features, benefits, and how it can improve your CI/CD workflow.
What is Xcode Cloud?
Xcode Cloud is Apple’s cloud service for developers using Xcode. It works seamlessly with Apple’s ecosystem, including App Store Connect and TestFlight, to help developers build, test, and distribute apps for iOS, iPadOS, macOS, tvOS, and watchOS.
Unlike traditional CI/CD tools that require complex setup and third-party services, Xcode Cloud is built directly into Xcode, offering a simpler and more efficient solution for developers working on Apple platforms.
Key Features of Xcode Cloud
- Cloud-Based Build and Test
Xcode Cloud offloads the building and testing of apps to Apple’s cloud, so developers no longer need to maintain their own CI servers. Builds are faster, more reliable, and optimized for Apple platforms. - Seamless Integration with Xcode
Xcode Cloud is fully integrated with Xcode, making it easy to set up and use. Developers can trigger builds, run tests, and manage workflows directly in Xcode, eliminating the need to switch between different tools. - Automatic Test Execution
Xcode Cloud automatically runs unit tests, UI tests, and performance tests after each build. It then presents detailed test results, helping developers catch issues early and reduce bugs in production. - Multiple Environment Support
Xcode Cloud allows developers to set up different build environments for stages like development, testing, or production. You can define workflows for each environment, ensuring your app is built and tested in the correct settings. - Code Signing Automation
Xcode Cloud automates the often-tedious task of managing code signing certificates and provisioning profiles, reducing errors and eliminating manual setup. - Integrated Distribution
With Xcode Cloud’s integration with App Store Connect and TestFlight, once your app passes testing, you can easily distribute it to testers or submit it to the App Store for review.
Benefits of Xcode Cloud for iOS Developers
- Boosts Developer Efficiency: Xcode Cloud automates tasks like building and testing, letting developers focus on coding and enhancing the app with a seamless, unified experience.
- Faster Feedback and Iteration: With cloud-based builds and automated testing, Xcode Cloud accelerates the development cycle, helping detect and fix issues earlier, saving time in later stages.
- Enhances Collaboration: Xcode Cloud simplifies teamwork by centralizing builds and tests, ensuring all team members work with the latest version, reducing conflicts and improving collaboration.
- Seamless Scalability: Xcode Cloud effortlessly scales with your app, from small projects to large enterprises, without the need for complex infrastructure management
- Cost-Effective Solution: Xcode Cloud provides a competitive pricing model, offering a streamlined, integrated CI/CD solution within the Apple ecosystem at a lower cost compared to other tools.
Step-by-Step Guide: Implementing Xcode Cloud in Your iOS Project
Step 1: Set Up Your Apple Developer Account
Before you can use Xcode Cloud, make sure you have an active Apple Developer Program membership. If you don’t already have one, you can sign up on the Apple Developer website.
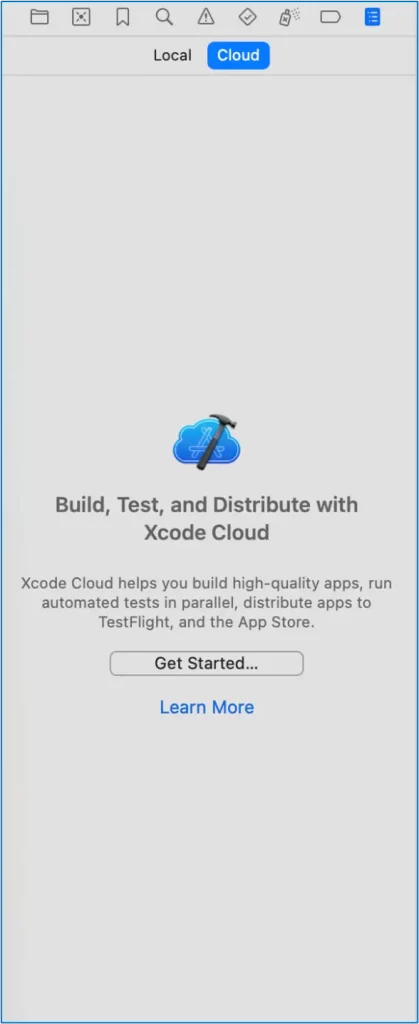
Step 2: Enable Xcode Cloud in Xcode
- Open Xcode: Launch Xcode on your macOS system and ensure that it is updated to the latest version that supports Xcode Cloud.
- Sign In: In Xcode, go to Xcode > Preferences > Accounts and sign in with your Apple Developer account.
- Enable Xcode Cloud:
- Open your project in Xcode.
- In the Project Navigator, click on the Project at the top, and under the Signing & Capabilities tab, enable Xcode Cloud.
Step 3: Connect Your Project to a Git Repository
Xcode Cloud requires your project to be stored in a version control system (VCS) like GitHub, GitLab, or Bitbucket. Here’s how you can set it up:
- Push Your Code to a Git Repository:
- If you haven’t already, push your project to a remote repository (GitHub, GitLab, etc.).
- You can do this using Git in your terminal or via the built-in source control options in Xcode.
- Link Your Git Repository to Xcode Cloud:
- Go to Xcode Cloud from your Xcode preferences.
- Connect to your Git repository by linking to your GitHub, GitLab, or Bitbucket account. You may need to provide authentication credentials.
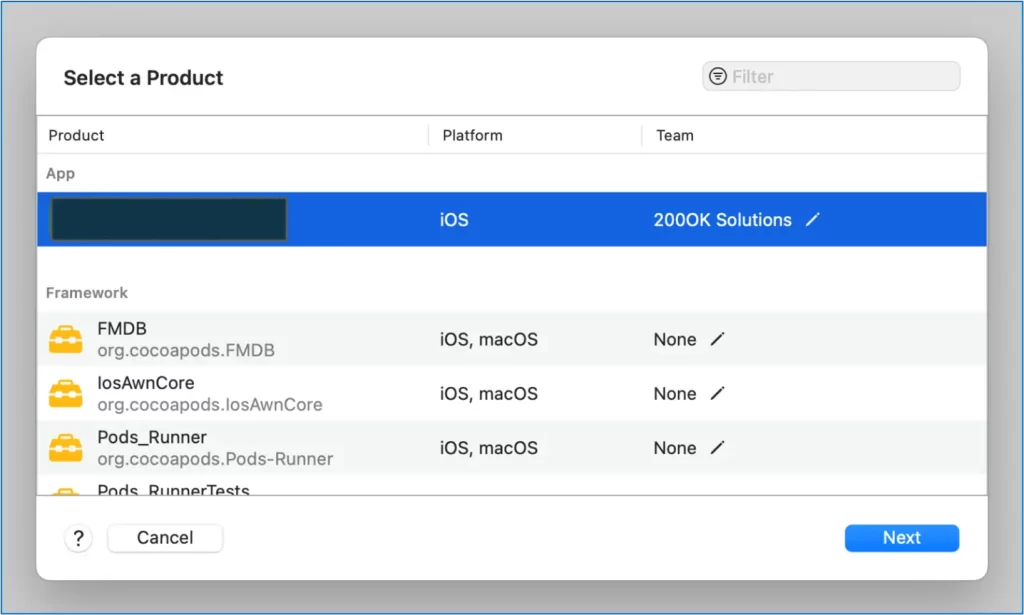
Step 4: Create an Xcode Cloud Workflow
Workflows in Xcode Cloud define the steps that will be executed when a trigger event occurs (e.g., a push to the repository). To create a new workflow, follow these steps:
- Access Xcode Cloud Dashboard:
- Open Xcode Cloud within Xcode.
- Click on Create a New Workflow.
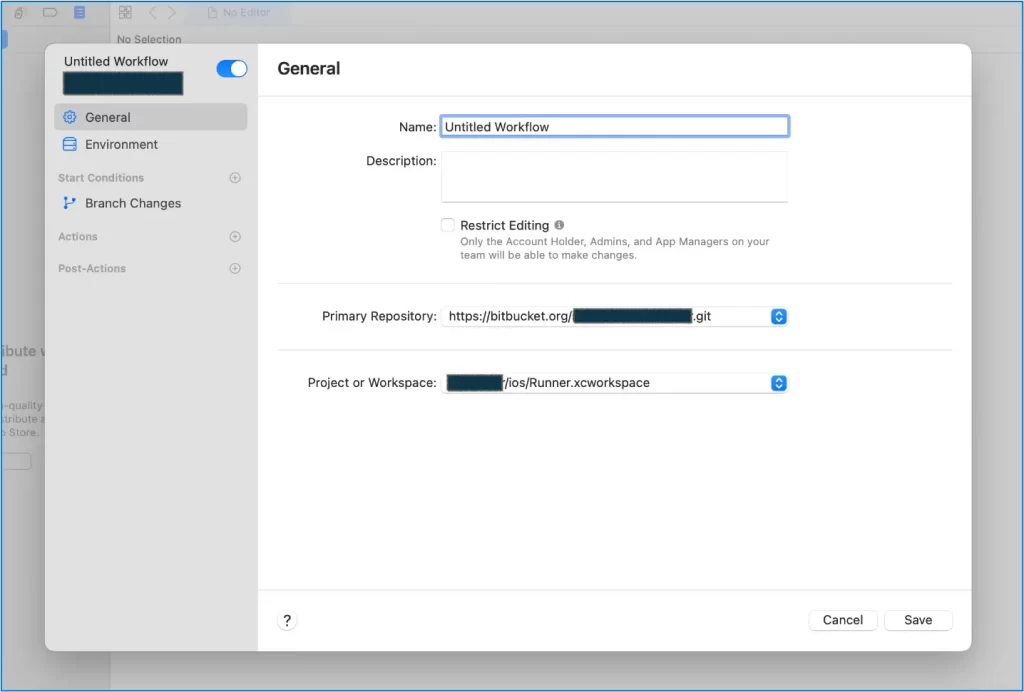
- Configure the Workflow:
- Select the Git repository that contains your projectChoose the branch that you want to build from (typically main or develop).
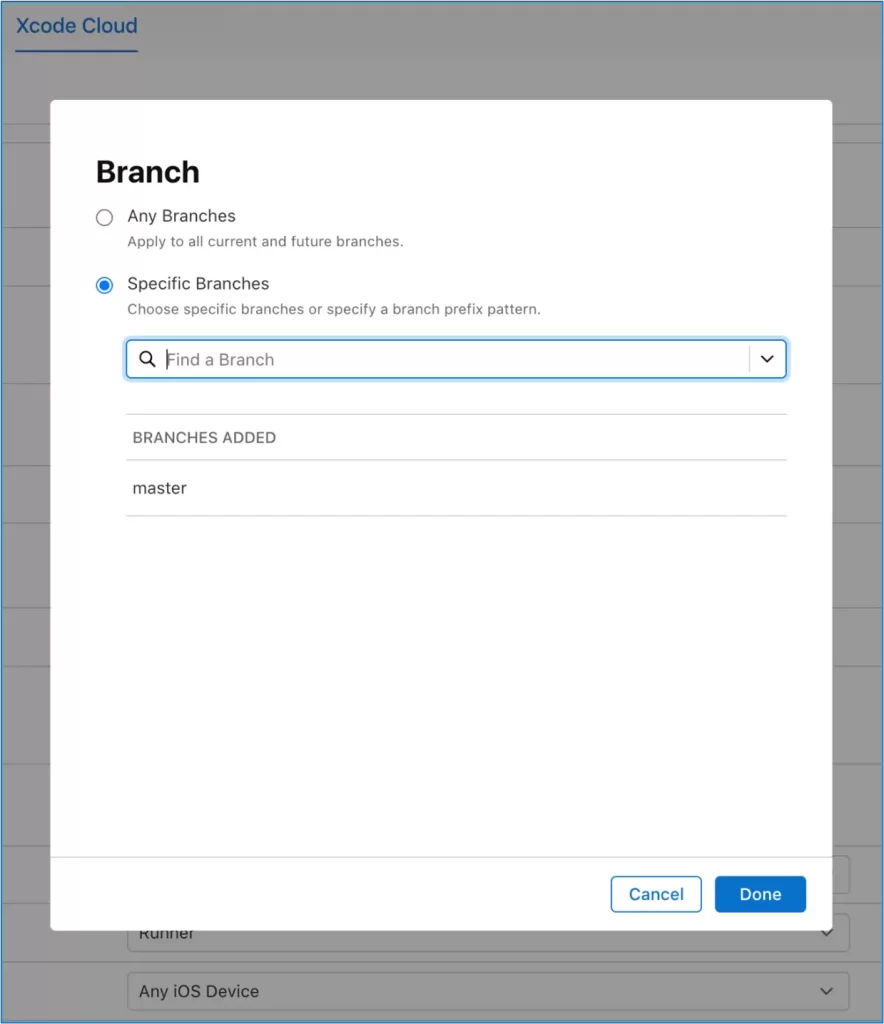
- Select Actions for the Workflow: Xcode Cloud lets you add several actions to the workflow. For example:
- Build: Choose to build your project for different platforms (iOS, macOS, etc.).
- Test: Automatically run unit tests, UI tests, or performance tests.
- Archive: Archive the app for distribution via Test Flight or App Store Connect.
- Deploy: Deploy to TestFlight for internal testing or App Store Connect for release.

You can add actions in the following steps:
- Build & Test: Select the scheme and configuration for testing (e.g., Debug, Release).
- Code Signing: Xcode Cloud can handle automatic code signing for your app. Ensure that the correct certificates and profiles are selected.
Step 5: Configure Build Triggers
Xcode Cloud allows you to define when the workflow should be triggered. The common triggers are:
- Push to a Git Repository: The workflow will trigger whenever code is pushed to the linked Git repository.
- Manual Trigger: You can manually trigger a build from the Xcode Cloud dashboard.
For most continuous integration workflows, you will select the Push to Repository trigger.
Step 6: Set Up Notifications
You can configure email or Slack notifications to alert the team whenever a build or test is completed. This helps keep your team informed about the status of the project.
- Email Notifications: Set up email notifications for each build stage (e.g., build success, test failures).
- Slack Integration: You can also integrate Xcode Cloud with Slack to send build notifications directly to a channel.
Step 7: Running Builds and Tests
Once the workflow is set up and triggered, Xcode Cloud will automatically start building and testing your app. You can monitor the status of your builds in the Xcode Cloud Dashboard.
- Build Status: You can see if the build has succeeded or failed.
- Test Results: After the build, Xcode Cloud will run any tests you’ve configured. If any tests fail, you’ll get detailed logs to troubleshoot.

Step 8: Archiving and Distributing the App
Once your app passes testing, you can set up your workflow to automatically archive the app and send it to TestFlight or App Store Connect.
- TestFlight: You can distribute your app to testers by uploading the build to TestFlight, Apple’s testing platform.
- App Store Connect: When you’re ready for release, Xcode Cloud can submit the app directly to App Store Connect for review and release.
Step 9: Monitoring Build Results and Logs
After your build is completed, Xcode Cloud will provide you with detailed logs and feedback. You can access these logs from the Xcode Cloud Dashboard:
- Logs: Detailed logs are available for each step of the build process, which helps you understand where the build failed if there was an issue.
- Notifications: If there’s an issue with the build or tests, you will receive notifications, and you can address them as needed.
Step 10: Iterating and Improving Workflows
Once your initial workflow is up and running, you can iterate on it. Here are some adjustments you can make:
- Add More Tests: Increase test coverage to ensure app stability.
- Customize Build Settings: Adjust build configurations to suit different environments (e.g., development, staging, production).
- Optimize Performance: Monitor build times and optimize them by parallelizing jobs or reducing unnecessary tests.
Additional Advanced Configuration (Optional)
Advanced Build Environments
Xcode Cloud allows you to create different environments to target different configurations of the app. For example:
- Development: Use different API endpoints or configurations.
- Staging: Use beta environments for testing.
- Production: Final builds for App Store distribution.
Parallel Testing and Builds
You can speed up your CI/CD pipeline by running multiple tests or builds in parallel. Xcode Cloud optimizes the resource usage based on your subscription plan and app complexity.
Custom Scripts
You can add custom scripts to your workflow to automate additional tasks that are not covered by Xcode Cloud’s built-in actions. For example:
- Running a linter before building.
- Sending notifications to a specific team or channel.
Here are a few resources to help you get started with Xcode Cloud, Apple’s CI/CD solution:
- Configuring Your First Workflow: A detailed guide on setting up your first workflow within Xcode, including steps to connect your project to Xcode Cloud, configure actions, and set up build triggers .
- Getting Started with Xcode Cloud: Overview of the requirements, subscription plans, and how to use Xcode Cloud effectively. It provides insights into managing compute hours and integrating with the Apple Developer ecosystem.
Conclusion
Xcode Cloud streamlines the CI/CD process for iOS developers by integrating directly into Xcode, enabling seamless builds, testing, and deployment to TestFlight or App Store. Its workflow customization, Git integration, and support for team collaboration enhance development efficiency. Start using Xcode Cloud by exploring its setup and workflow configuration in the official documentation.


